Flash Card Master is ready to go as soon as you start it, however if you would like to customize the appearance of your flash cards, this section will guide you through the steps to do so.
-
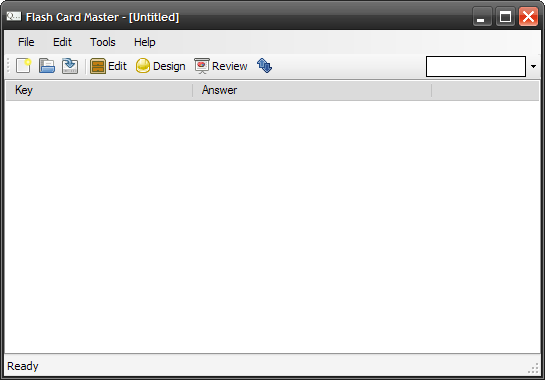
When you start Flash Card Master, the main window will look like this:

-
The default flash card deck, has two fields, Key and Answer . Let's rename the fields into something more sensible.
-
Click on
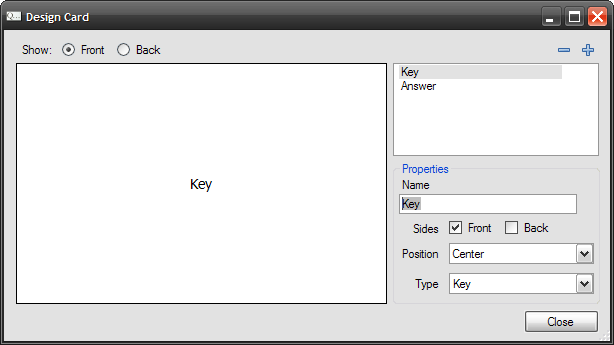
 button in the toolbar or → . This will open the Card Designer.
-
Click on the Key field in the list at the top right.
-
In the text box below, delete the text Key and type in Word.
-
We will rename the Answer field as well. Let call it Definition.
-
-
Let's add an additional field.
-
Click on the
 button to add a new field.
 -
Let's call the new field Chapter.
-
For the Sides, we will check both Front and Back. We will Position the field at the Top Right of the card and leave the Type as Other.
-
-
Let's also reorder the fields
You can rearrange fields by grabbing them using the mouse. As you move around, a line will indicate where the item will be placed. When you have reached the desired place, drop the item the put it there. Let's move the Chapter field you just created to the top of the list.
Your list should now look like this:

-
Click to close the dialog. You may be asked to save the file.
Yay, we're done. You have now created a flash card deck with three fields Chapter, Word, and Definition. The Chapter field will appear on the front and back sides of the card at the top right corner. The Word field will be visible on the front center and the Definition will be on the back center. You can add actual cards using the Edit Cards dialog ( button or → menu.)
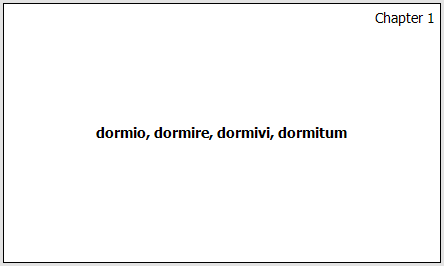
I've added a card. Here's the front:

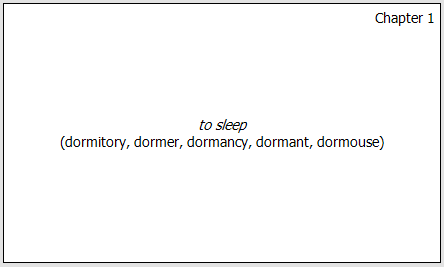
and the back:
